Back to guides

StreamElements Setup

Widgets Setup Guide

Follow these steps to install your widgets with StreamElements in OBS or Streamlabs. Each section walks through one part of the setup, with screenshots for every action.

1 Step 1

Import into StreamElements

Add the widget to your StreamElements account and copy its overlay URL.

1.1

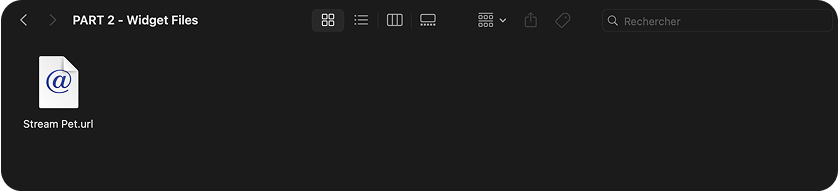
From your computer, open the folder “PART 2 - Widget Files” and double-click the “Stream Widget”.url file.

You will get this file after purchasing your widget.
1.2

A StreamElements page will open in your web browser. Log in with the account you use for streaming (Twitch or YouTube).

1.3

Once logged in, the widget should be automatically added to your overlays.
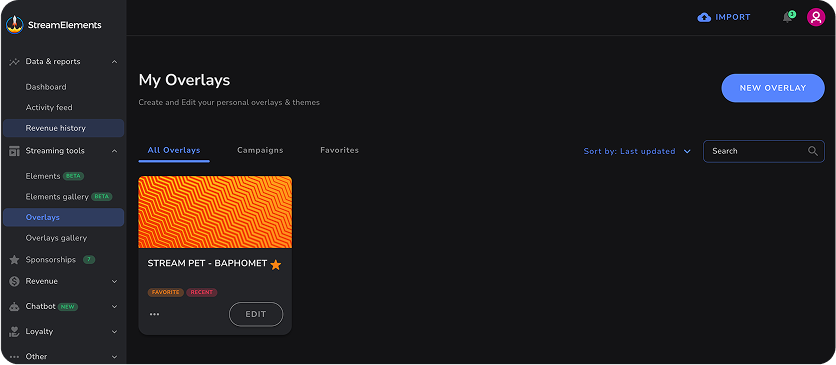
1.4

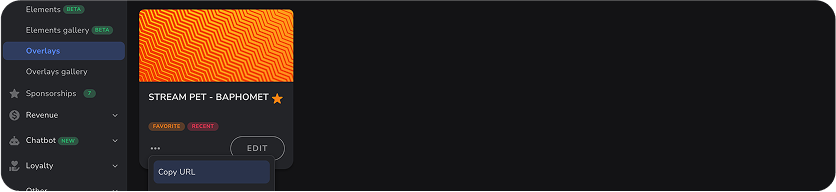
Click the “…” menu on the overlay card and choose “Copy URL”.
2 Step 2

Import the link into OBS or Streamlabs

Add a Browser source in your streaming software and paste the StreamElements URL.

2.1

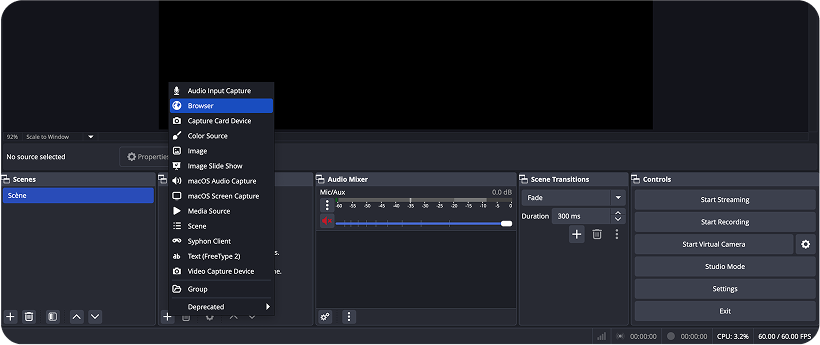
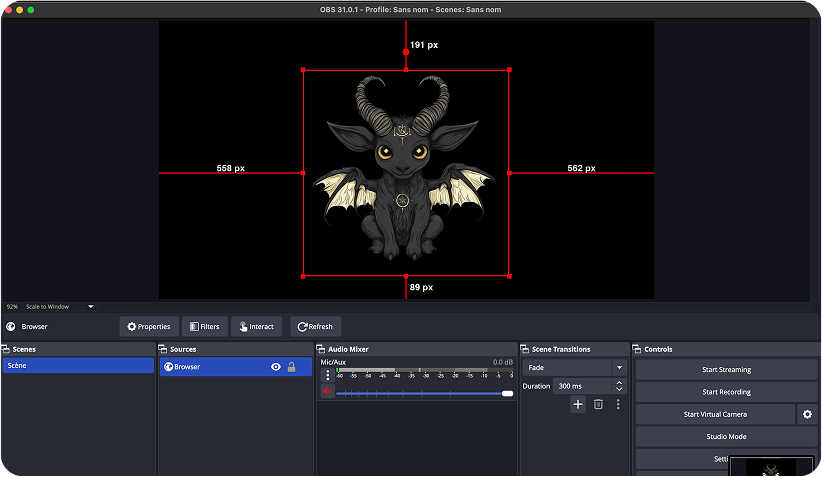
Open OBS or Streamlabs on your computer and add a new source: “Browser”.

2.2

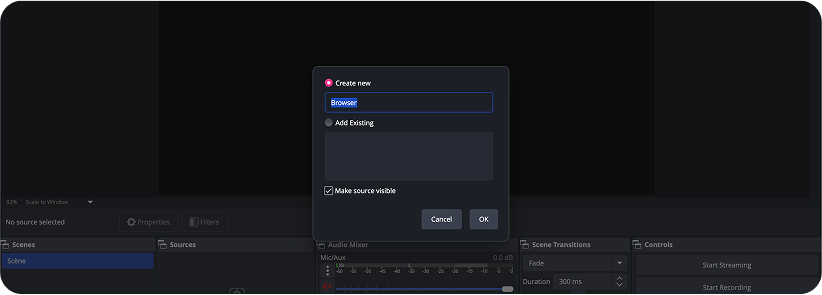
Give your source a name (for example “Stream Widget”) and click “OK”.

2.3

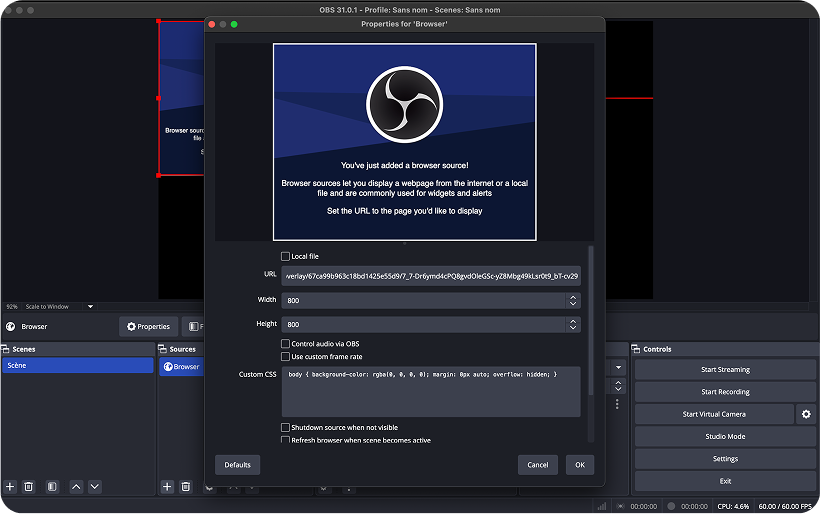
Paste the link created on StreamElements into the URL field. Set Width to 1920 and Height to 1080.

2.4

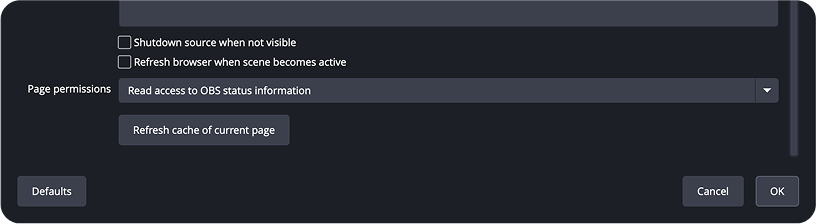
At the bottom of this page, make sure “Read access to OBS status information” is selected under Page permissions. Then click “OK”. You should see the widget in your scene — one step left.

3 Step 3

Disable browser source hardware acceleration

Turn off hardware acceleration in your streaming software, then restart it so the widget displays correctly.

3.1

Open the preferences / settings page in OBS or Streamlabs.

3.2

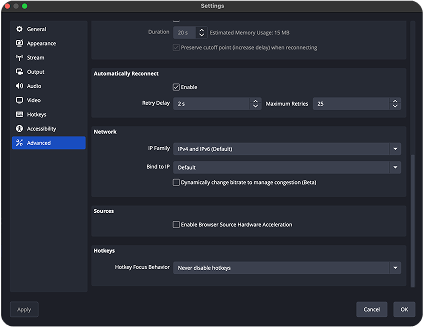
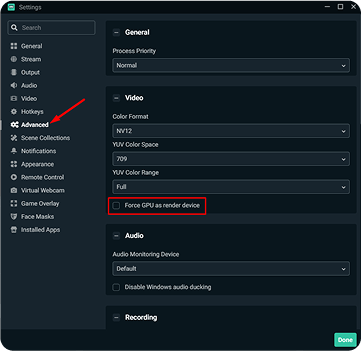
Go to Advanced settings and scroll to the relevant option. On OBS, disable “Enable browser source hardware acceleration”. On Streamlabs, disable “Force GPU as render device”.

OBS advanced settings
OBS
Streamlabs advanced settings
Streamlabs

3.3

Restart OBS or Streamlabs for the settings to take effect. The widget setup is complete — test it from your chat to confirm it appears.